
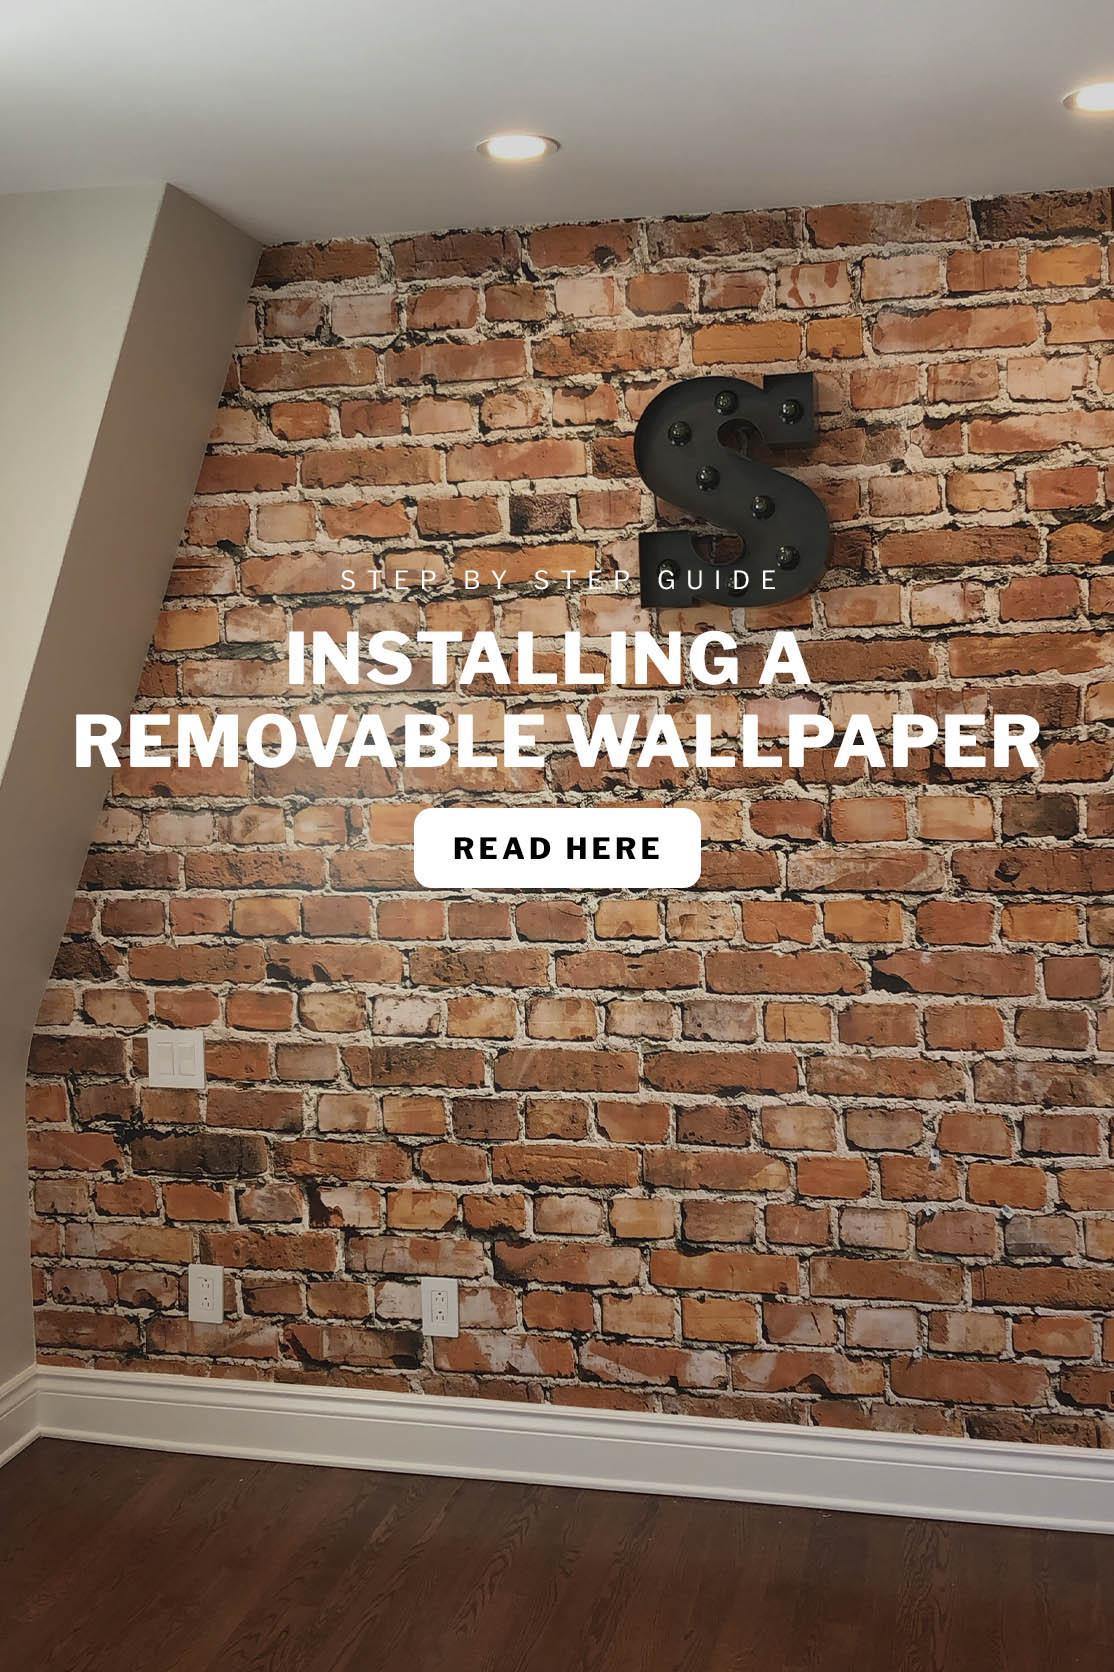
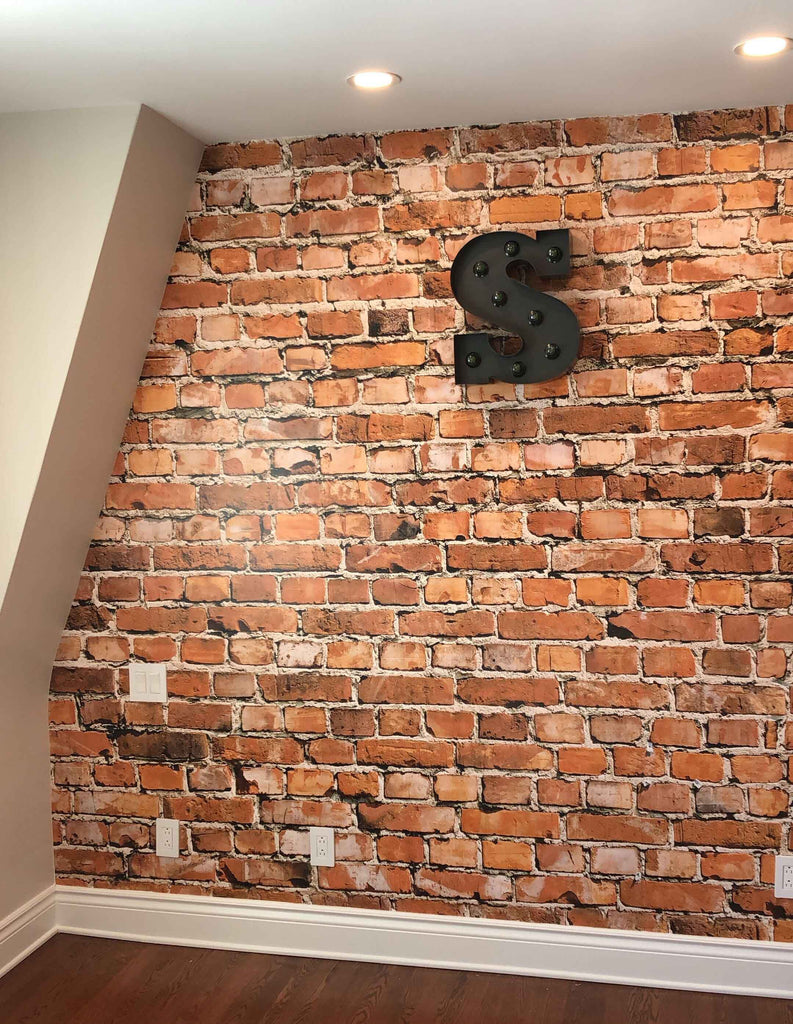
Step By Step Guide to Installing a Removable Wallpaper
Removable wallpaper seems like a ‘too good to be true’ type of interior design. You get the charm and appeal of wallpaper, but are safeguarded from the strenuous installation and removal process associated with its ‘non-adhesive’ equivalent. Steamers, soapy water and wall scrapers are now a thing of the past. Once you’re tired of it all, you can simply grab a corner and pull the paper down to remove it from your wall. It’s that easy!
While removing temporary wallpaper from your room is a fairly simple and self-explanatory process, the installation process can be a little longer (in some cases it can be as long as hanging regular wallpaper). But it is completely worth it! Removable wallpaper functions like regular wallpaper, but can be easily removed and replaced, when needed!
Through manufacturing and creating temporary wallpaper, we have learnt a few secrets on how to generate a seamless interior, utilizing this efficient and affordable interior design feature. Here’s the secret: It has everything to do with how you install it in the first place. We’ve put together a few simple guidelines to share with you to ensure the best results...
Installing Removable Wallpaper
What you need:
- Tape Measure
- Smoothing Tool
- Razor/utility blade
- Screwdriver
- Step ladder
- An extra pair of hands (optional)
Make sure your wall is clean and smooth before apply the removable wallpaper to maximize the capacity at which it can stick
It is advisable that before you begin the installation process, test out the removable wallpaper with a small piece. Apply it to the wall to check the level of adhesiveness. Removable wallpaper works particularly well on eggshell, satin or semi-gloss painted surfaces.
If you have a relative or close friend who has some spare time on their hands - now would be a perfect opportunity to convince them to help you install your removable wallpaper. If you’re a bit of a perfectionist and are doing this alone, no worries - it just may take you slightly longer.
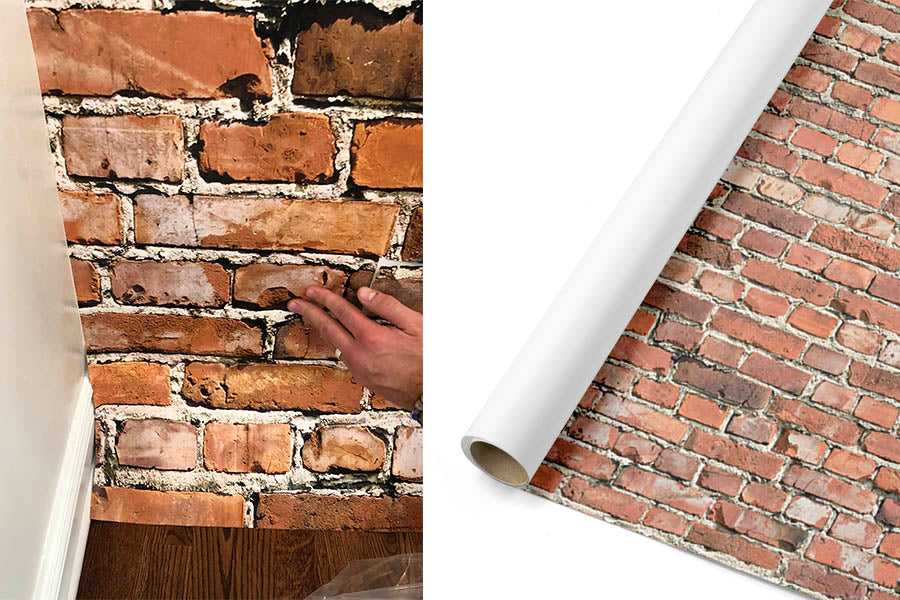
Unroll your wallpaper and let it sit for an hour to flatten.
Pro tip: Use a bath mat or rug to lay the wallpaper out initially whilst you’re unravelling it from the package. This will ensure that it doesn’t get scratched or damaged. At EazyWallz, to facilitate easy installation, all our removable wallpaper murals are delivered in panels between 50 and 70 cm. Each panel is numbers and an installation guide is provided with each order.
- Prepare your space by removing outlet and light covers, vents, nails and screws
- You should mark a plumb vertical line on your wall using a wallpaper level. For those advanced interior decorators, you may be able to trust your moulding or wall corners to be even enough to apply the wallpaper freely. However, utilising a level will ensure that your removable wallpaper can be applied in a straight and cohesive manner.
- Now the preparation is complete, you can start hanging the removable wallpaper. It is advisable to start the application of your first panel to a top corner of the wall. You will want to peel the paper backing away from the top of the room just a few inches. Make sure you get the first piece lined up perfectly straight along the plumb vertical line you marked at the start of the process. The first piece is the most important, so take your time applying. Patience is key. Although, the beauty of removable wallpaper is that if you get this completely wrong, you can peel off the paper and start again!
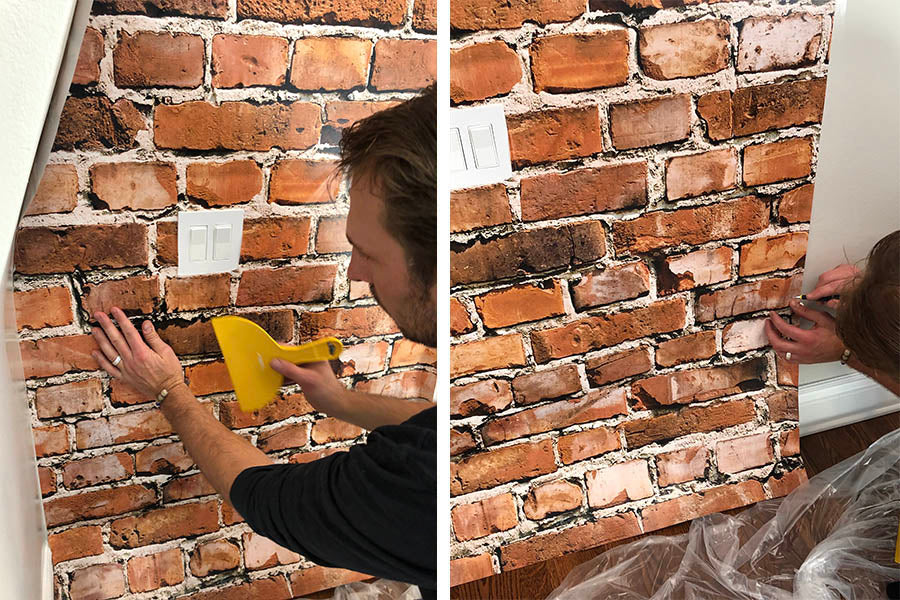
- Once you are content with where the first panel of wallpaper is positioned, use your smoothing tool to eliminate any air pockets.
- Now repeat this process again for the next panel of wallpaper. Simply, line up the pattern next to your first panel. Tip: Peel away, backing in 2-3ft sections. It may be advisable to slightly overlap the papers to avoid any gaps or uneven walls.
- Continue this process on each section of the wall you have measured out.
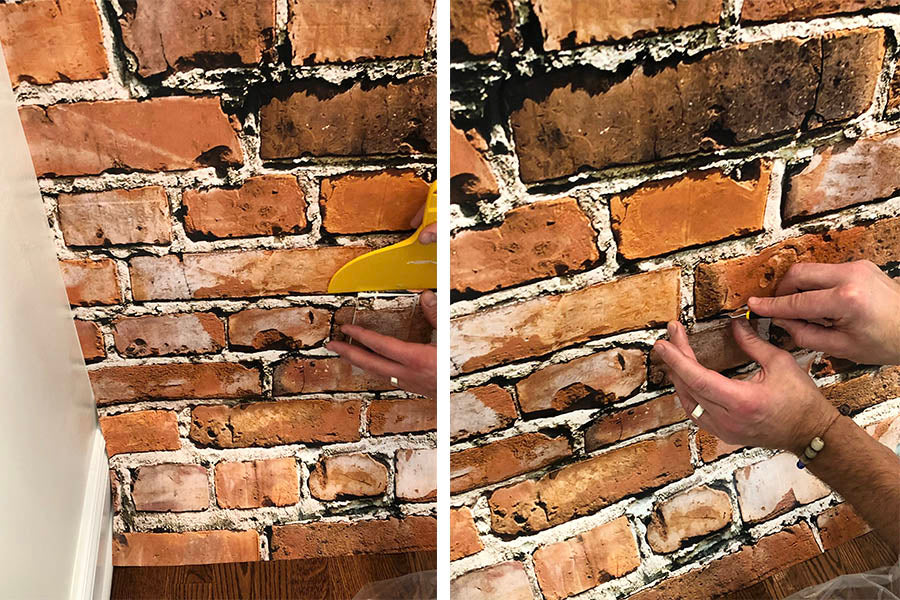
- Once complete, use your smoothing tool over every panel to ensure there are no air bubbles.
- If you have excess wallpaper, remove this with scissors or a razor for precision cuts.


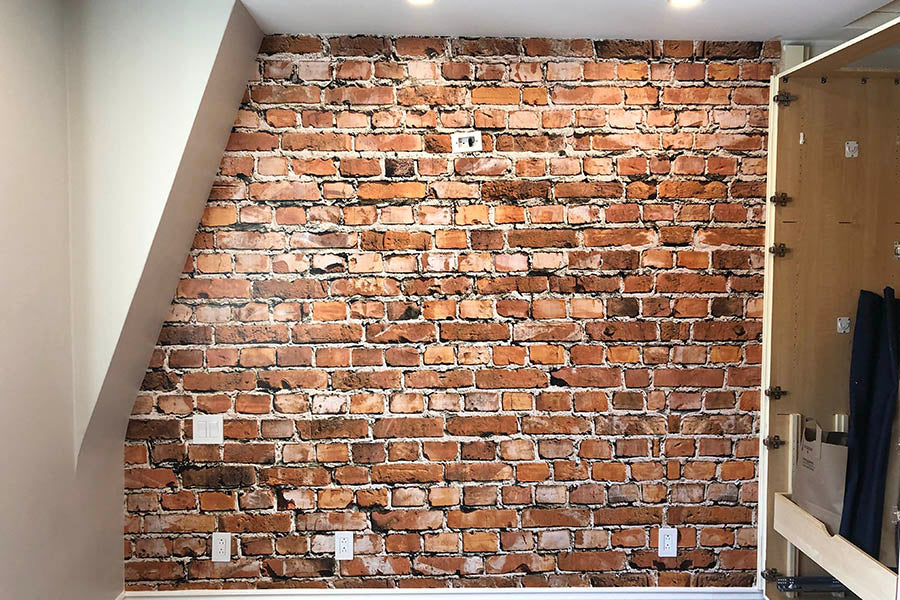
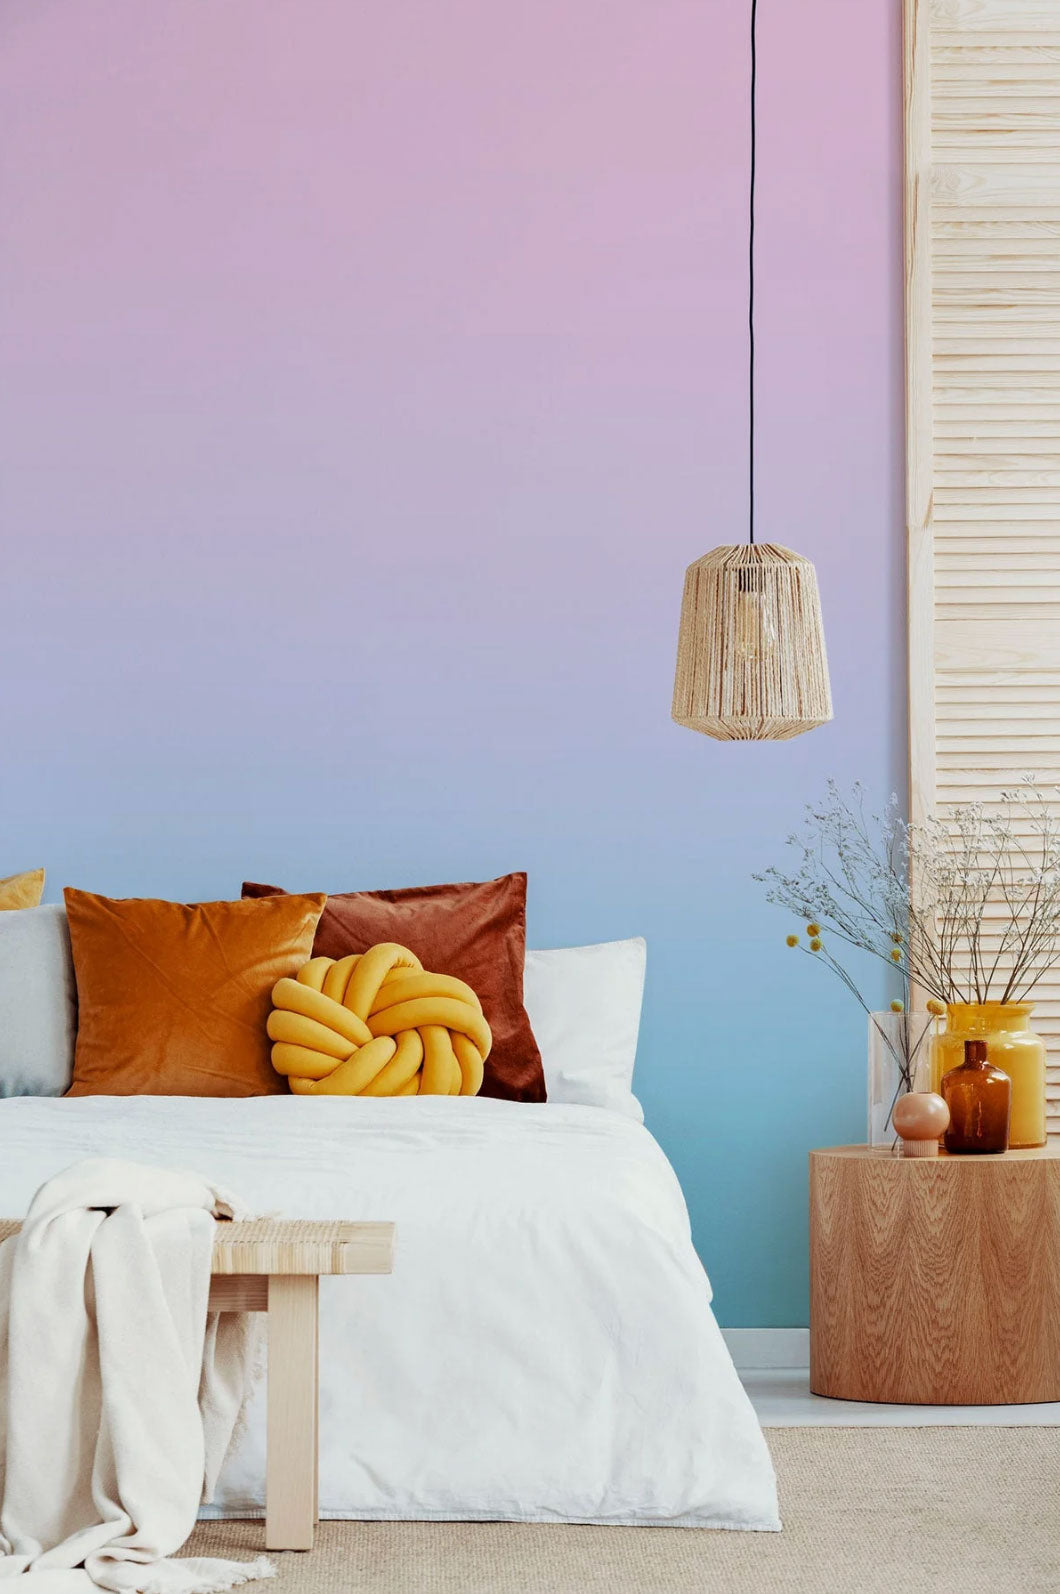
At Eazywallz, we have a range of removable wallpaper that will suit your ever-changing design style and aesthetic. A patterned temporary wallpaper for the hallway, textured removable wallpaper for the living room or a colourful motif for a children’s room - our removable wallpaper collections can create ambience in any room.
The best part? You can easily remove the murals with a simple strip of the paper -without having to sacrifice on quality and design. Shop our collection today for the best prices and collections to transform your home into a place you adore...
Read more
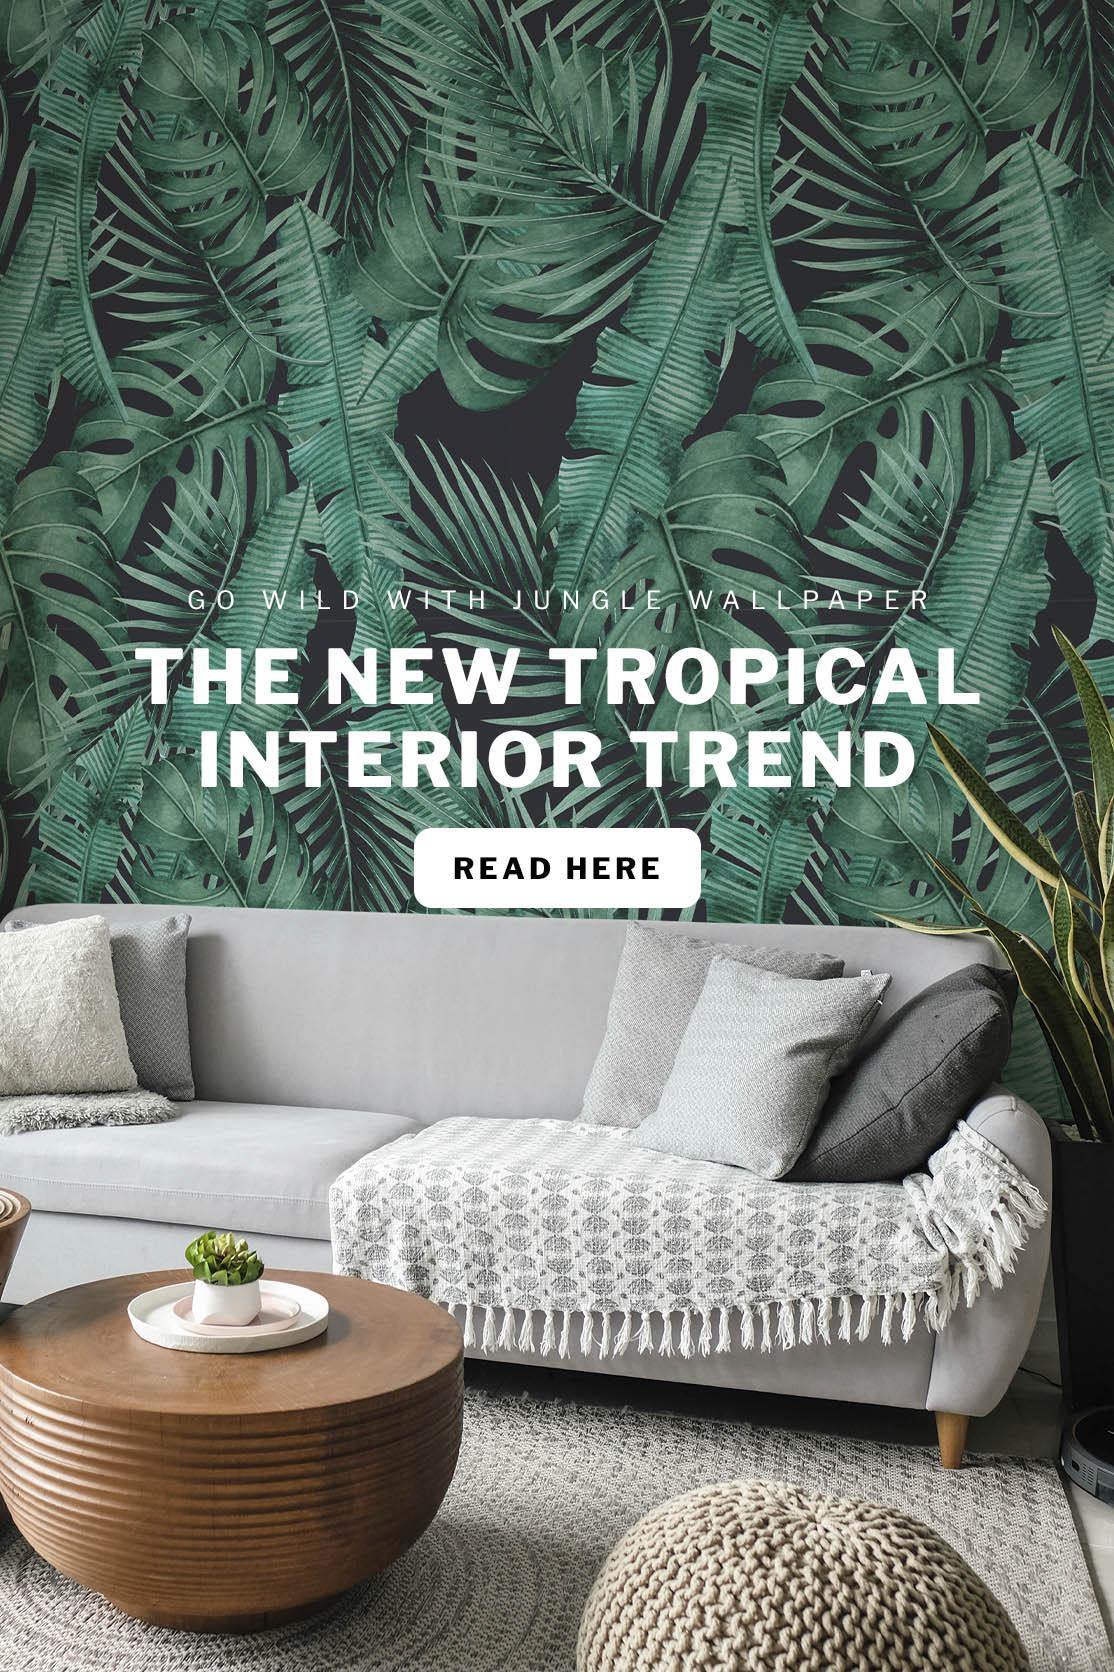
This season’s trending interior takes inspiration from nature and adds sophisticated style to any room. You need only turn to fashion giants like H&M and anthropologie to see how the jungle and...
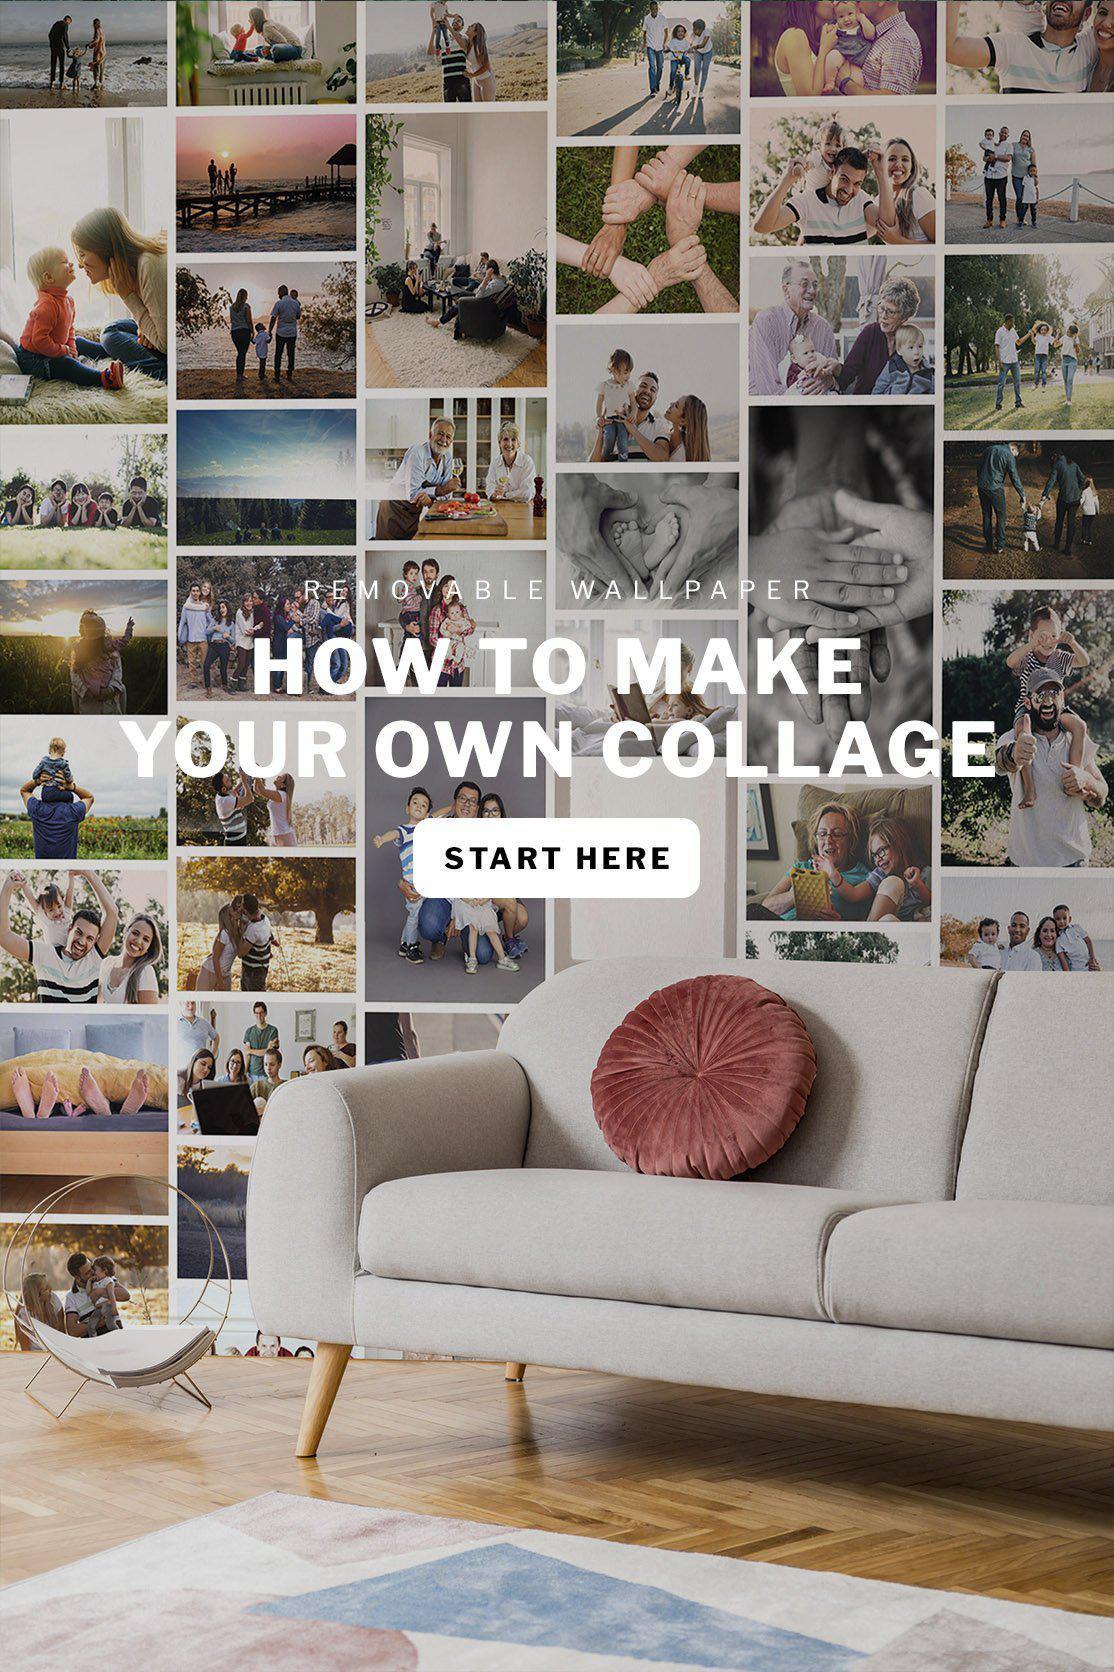
From basic artwork to daring designs... The evolution of wallpaper has drastically changed over the past 100 years. From 17th century polychrome patterns used to hide the brick walls in Victorian h...