

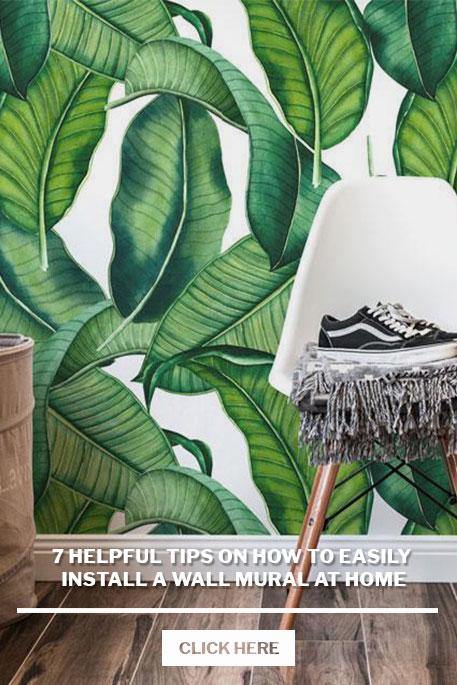
7 Helpful Tips on How to Easily Install a Wall Mural at Home
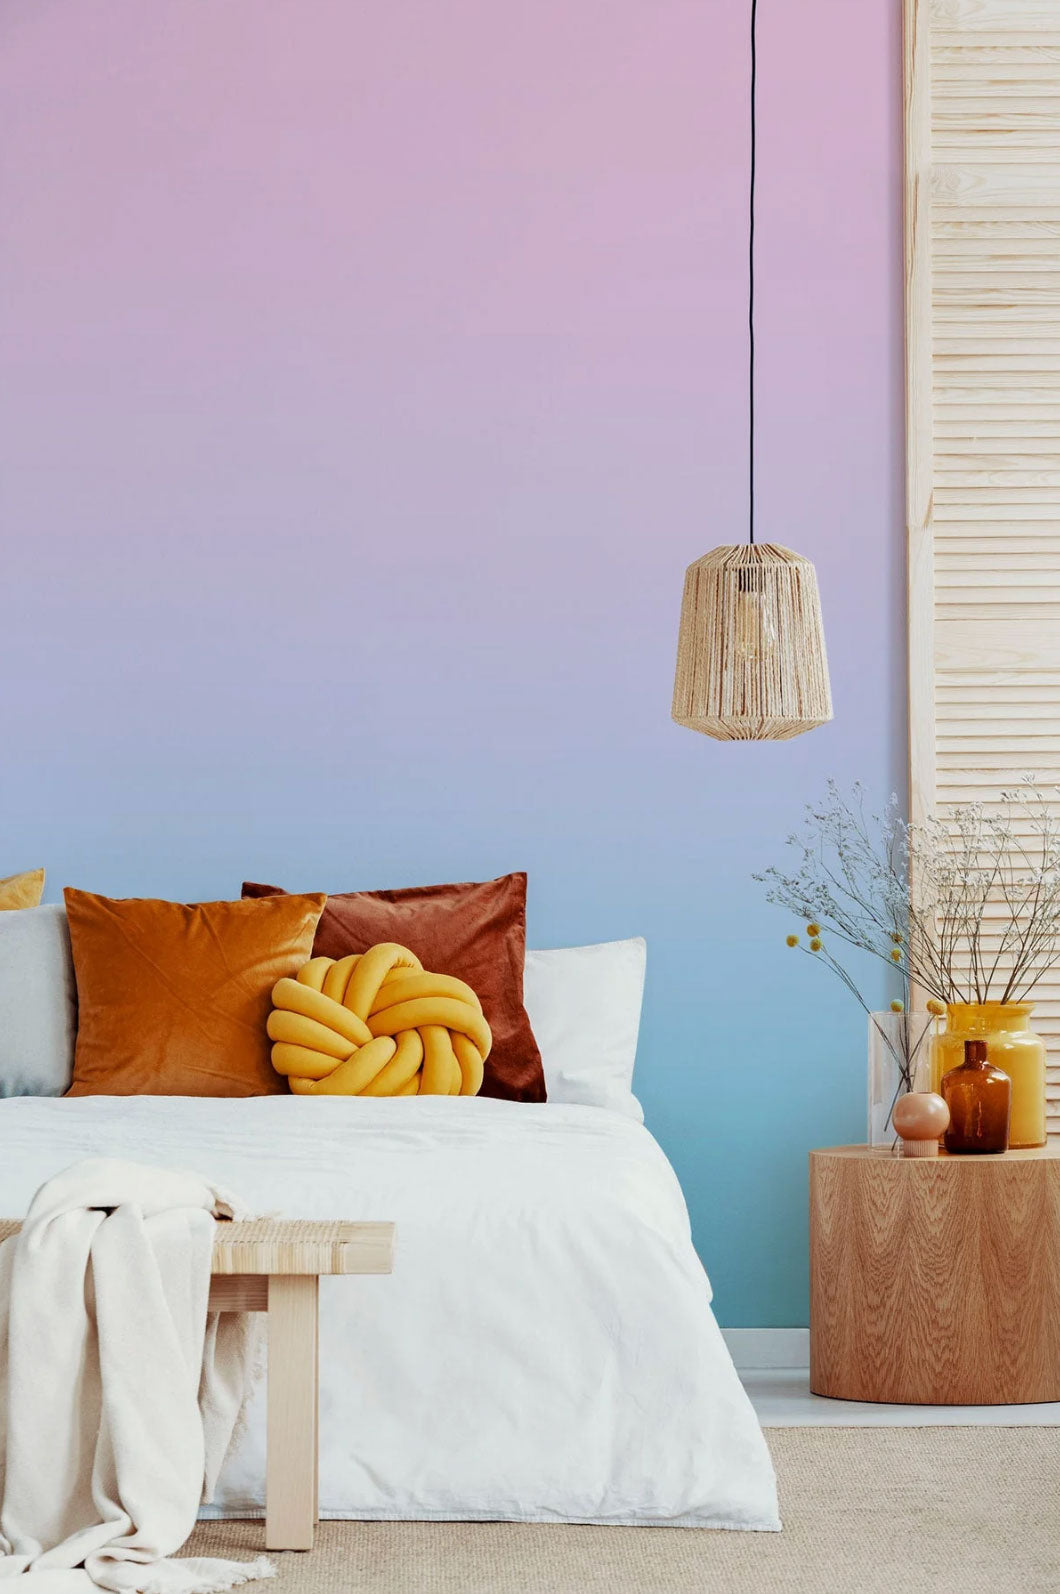
There are only so many things you can do to a wall before it’s time for something drastic. If ordering a large print or poster isn’t your style, or hanging up a tapestry would just seem tacky, a wall mural might be exactly what your space needs. Whether you’re filling out a bedroom or sprucing up a living room, a high-quality wall mural can add a lot of life to a home. While many companies offer art installation services, if you’re looking to save money by creating your own space, you can easily install a full wall mural if you plan it out correctly beforehand.
For the DIY types out there, here are 7 helpful tips to help you install a wall mural at home.
Check out our wall mural how-to tutorials for a complete step by step process on choosing your wall mural to installing it!
1. Prepare Your Wall
Before you even think about installing your mural, look for imperfections in your wall, and seal up any holes left from any pictures or decorations that may have been hanging there before. Next, you’ll want to thoroughly clean your wall so the mural will successfully stay in place. Cleaning the surface of the wall will also make the mural easier to remove if you ever decide to place it somewhere else, too. Here is a more in-depth look at prepping any type of wall.

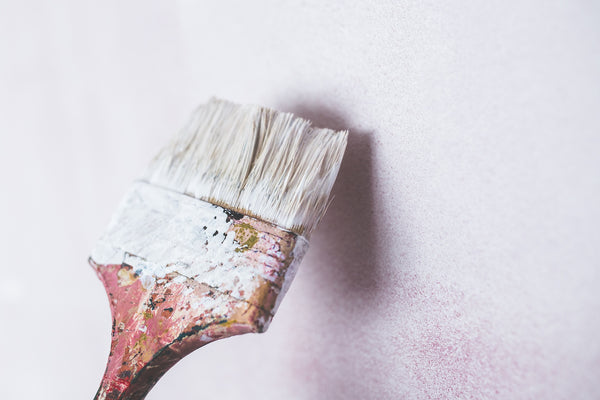
2. Add a Fresh Coat of Paint
After you’ve smoothed off the wall and removed any miscellaneous nails, you’ll want to add a fresh coat of paint on the wall anywhere between 7-10 days before adding the mural. If you have walls that are in pretty bad shape, florescentgallery.com recommends choosing a textured paper or matte laminate self-stick to help hide the flaws.
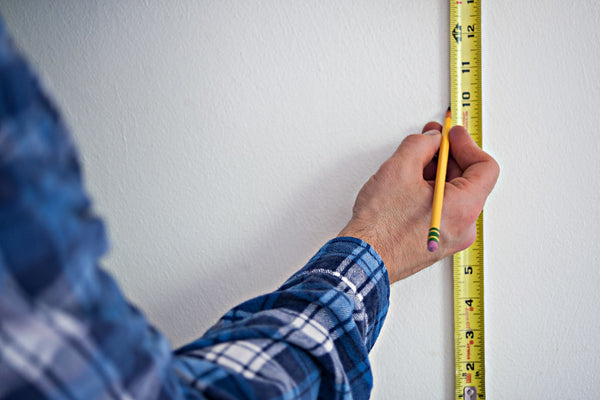
3. Measure Your Walls
Since most large murals come in panels, you’ll want to be sure you’ve accurately measured your walls and aligned the panels correctly before installing them onto the wall. These measurements must be precise, so make sure to triple check your work before installing anything.
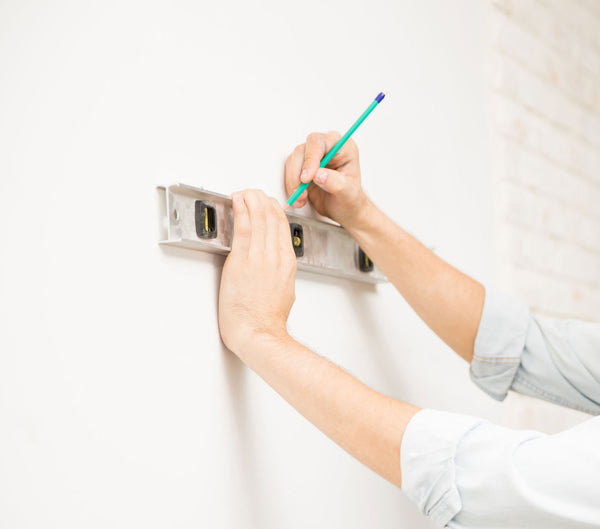
4. Make Sure Your Mural is Properly Leveled
If you’ve ever tried to hang up a picture by yourself, you know how hard it is to hang something up perfectly straight the first time. You’ll definitely want a partner to help you install your mural, but you’ll also want to use tools such as a laser level to make sure every panel is lined up just right. If and of the panels are slanted or misaligned in any way, it will be very easy to tell when you look at the final product.
5. Give Yourself a Day
If you’re going to install full-length panels across a large wall, do yourself a favor and take the entire day off to do it right. There’s nothing worse than having to rush through a job when it could have been done better if you had been able to take your time.
6. Decide How You’ll Install Your Panels
When you’re finally ready to install your panels, your installation method will really come down to your plans in the future. If you plan on leaving your mural in place and holding onto the property for a long time, then you’ll want to use paste and permanently stick the mural on the wall. If you plan on moving your mural from time to time, you can also use a self-stick method, which allows you to move the panels much easier. Be careful about moving the mural too much, however, as the adhesive material on the back will lose strength over time.
7. Go From One End to the Other
Once it’s time to put the panels up, you’ll want to start at one end and work your way down to the other. If you’ve ever put a screen cover on your phone, you’ll want to use the same technique: move slowly down the wall, smooth out each individual bubble, and peel very slowly to avoid any rips or tears.
Once you’ve taken the time to get your mural up and on the wall, you may need to trim the edges to make everything line up perfectly, but if you’ve followed these tips, you should see a beautiful mural staring back at you. The name of the game is patience when it comes to large installations because even the smallest error could prove to be a huge cost in the end, especially if you’re installing a mural that is more permanent. Take the time to do all your preliminary steps and measurements, and your DIY installation will be a money-saving success that adds life to your home!
Read more

Autumn is known for its changing colours, so why not celebrate the season in your own home with an update to your design and décor? This fall’s pantone palette is characterized by rich, deep and vi...
Kitchens are a fundamental room in a home. Given their importance, it makes sense that homeowners invest a lot of time and money into making their kitchen feel like the heart of their home. But wha...